Day planner
The day planner shows you the planned shifts for each position. In the upper table, you can see the forecasts per hour and, if applicable, the over- or understaffing. The day planner is designed to analyze the sales forecasts for each hour, check key figures, or fill vacant shifts. It is also often used to fine-tune and adjust individual shifts, as this is easier to do in the day planner than in the monthly planner.
If you only want to display certain positions, you can filter by the desired groups at the top right. Simply check the corresponding boxes.
1. Fill empty shifts with employees
You can recognize unfilled shifts by the empty boxes in the respective position.
When you click on these boxes, a window opens and suggests employees you can schedule for this shift. The filters for the respective position and the time are set automatically. This way, only employees who have both the qualification and availability for this shift are suggested. Alternatively, you can also click on employees shown on the left and drag them into the empty shift.
Alternatively, you can also click on employees listed on the left and drag them into the empty shift.
2. Fine-tune shifts and breaks
The last column of the upper table shows you the over- or understaffing for each hour. To avoid this, you can adjust the shift lengths by shortening or extending the bars with your mouse. You will see that the numbers in “Deviation” will change accordingly.
You can also move break times in the day planner. To do this, drag the small white dot within the shift with your mouse.
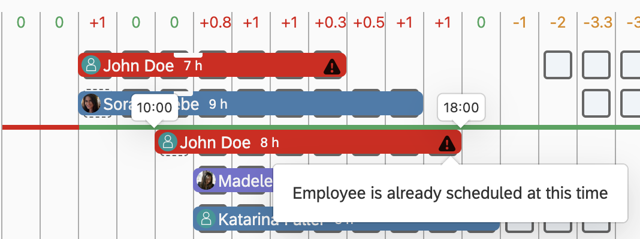
If you schedule employees outside their qualification or availability, or if the person is already scheduled at another position, the shift will turn red and the respective reason will be shown in a small triangle.
3. Release the day plan
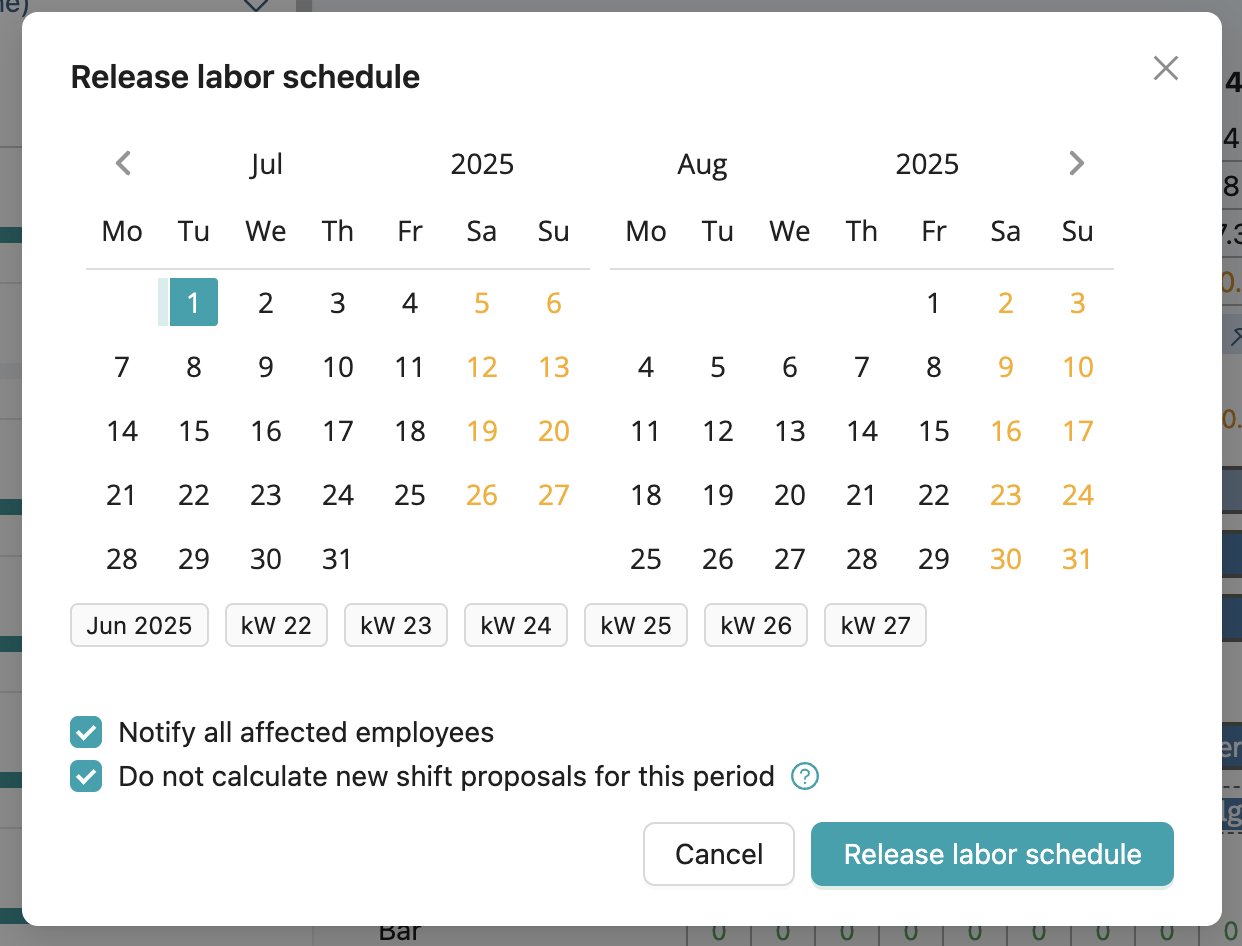
To release the day plan, click the arrow at the top right. A window will open where you can select which day you want to release and whether employees should be notified.
4. Print the day plan
To print the day plan, click the printer icon at the top right. In the following step, you can select exactly what you want to print.
