Newsletter dated 07.10.2024
Product Updates
Planned Shifts in the “New” Recorded Working Times
In the new view of the recorded working times, the planned net working hours of employees are now displayed. When hovering over the planned working times, the details of the planned shift, based on the last released duty roster, are shown.

This additional display significantly simplifies the day analysis and allows you to easily check how the employees at the location were supposed to work according to the duty roster.
Product Information
Shift Assignment – How do I assign employees to the duty roster in Nesto and how can Nesto support me in creating the roster quickly and in compliance with legal requirements?
Manual Assignment
In Nesto, there is always the option to assign employees via the day, month, or employee planner. However, this has some disadvantages:
The process is very time-consuming.
It can happen that the duty roster needs to be rewritten in the last week of the month because in the first weeks a large part of the contractual hours of full-time and part-time employees were already scheduled, and the corresponding personnel for the last week’s scheduling is no longer available.
It is difficult to keep track of all labor and contract law requirements.
Automated Assignment Using the Automatic Planning Assistant
Nesto supports you in assigning employees quickly, fairly, and taking into account all labor and contract law requirements. With the help of the Automatic Planning Assistant, you receive a duty roster in under a minute.
Preparations for a Successful Automated Assignment
As you know, a clean preparation is the key to success with Nesto. To ensure the automated assignment can be successful, a few points must be observed:
Availability: Make sure that the availabilities of employees are correctly recorded. In Nesto, availabilities are fundamentally understood as contractual availability, so an employee only receives shifts that lie completely within their availability.
Qualifications: The employee must have the qualification to work at the positions where you want to assign them. The employee must be at least at the “Beginner” qualification level to be assigned automatically. “Advanced” and “Professional” levels can be assigned to all shifts (at the respective position).
Absences: Enter all employee absences before you start scheduling. Only if Nesto knows that the employee is unavailable can it take this into account accordingly.
Employee Assignment with the Automatic Planning Assistant
The Automatic Planning Assistant (found in the month and employee planner) supports you in carrying out employee assignment quickly, fairly, and in compliance with legal requirements.

To ensure this, the Automatic Planning Assistant considers, in addition to the points mentioned above (availability, qualifications, and absences), the contractual data stored in Nesto (e.g., target hours, weekly working days, rest periods, maximum weekly working hours) and general labor law requirements (e.g., maximum assignment of 10 hours net shifts, compliance with youth protection). You can therefore be confident that employee assignment via the Automatic Planning Assistant will always result in a legally compliant duty roster.
A detailed guide on using the Automatic Planning Assistant can be found in our manual at https://help-portal.nesto-software.de/help-portal/automatischer-planungsassistent
Fine Tuning
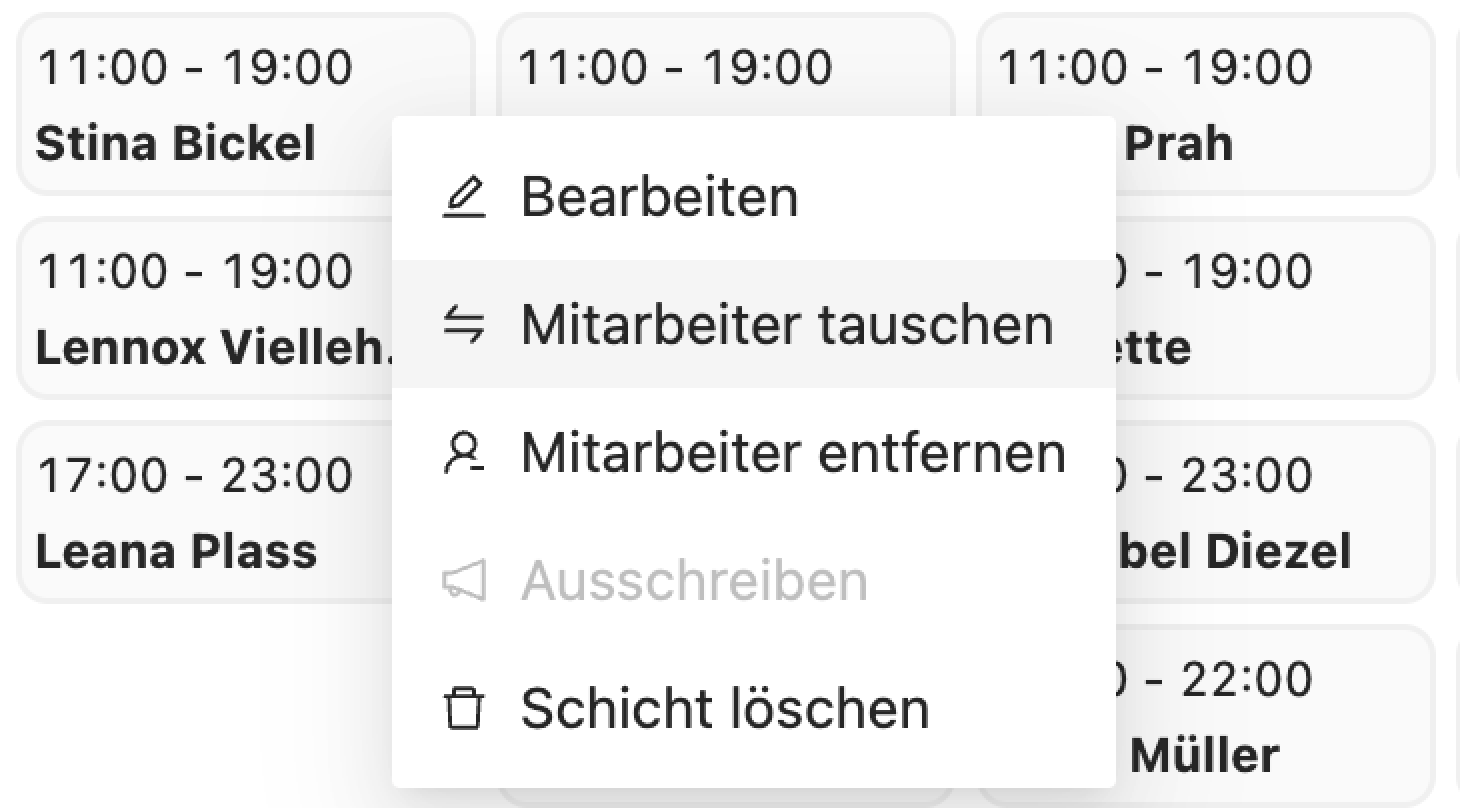
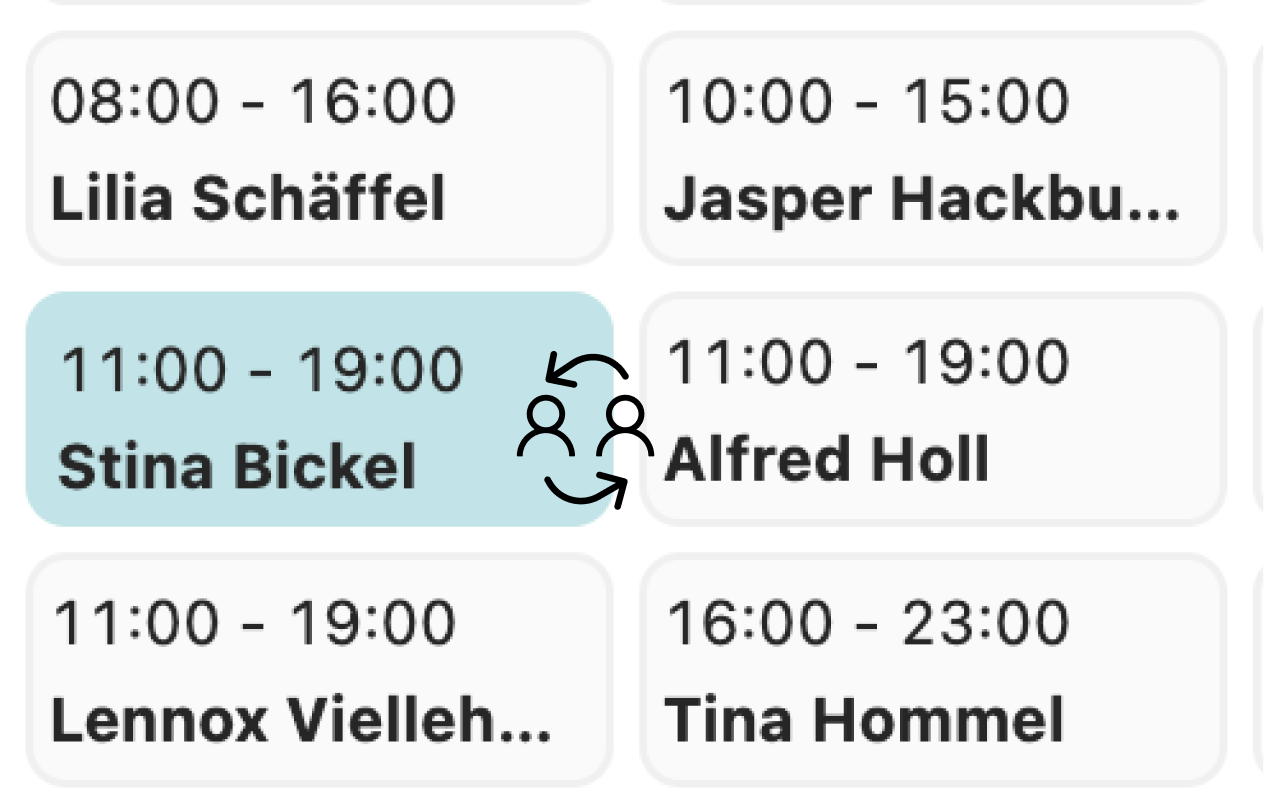
Finalizing the duty roster can rightly be called an art. It may of course happen that there are certain constellations of employees who work best together on certain shifts and that day should be manually rescheduled accordingly. The automated assignment via the Automatic Planning Assistant always represents only a shift proposal for employee assignment. This proposal can always be adjusted manually. For this, you can, for example, use the function to swap employees, with which you can quickly and easily exchange the shifts of two employees. Simply right-click on the shift you want to swap:

and then select the shift to swap with:

We hope this brief excursion into the world of employee assignment in Nesto was helpful for you! Feel free to write to us about how you create your duty rosters in Nesto.
On the following page, we also explain the best practices for optimal duty roster design in Nesto: https://help-portal.nesto-software.de/help-portal/best-practices
